Upload genomes with Globus Connect Personal
Uploading data with Globus Connect Personal (GCP) is good if:
- You need to transfer large amounts of data (tens or hundreds of gigabytes)
- You want to be able to automatically pause and resume your data transfer
- This is also useful if you have a poor internet connection
- You are happy to install a special application to transfer data
In other cases it may be simpler to upload data using your web browser.
tip
- If you'd like to test the platform we recommend using this small synthetic dataset (HAPNEST)
- The synthetic data are genome build version
GRCh38
- The synthetic data are genome build version
- The small HAPNEST synthetic data have been tested with the polygenic scores below:
Before you start
- You'll need to install Globus Connect Personal
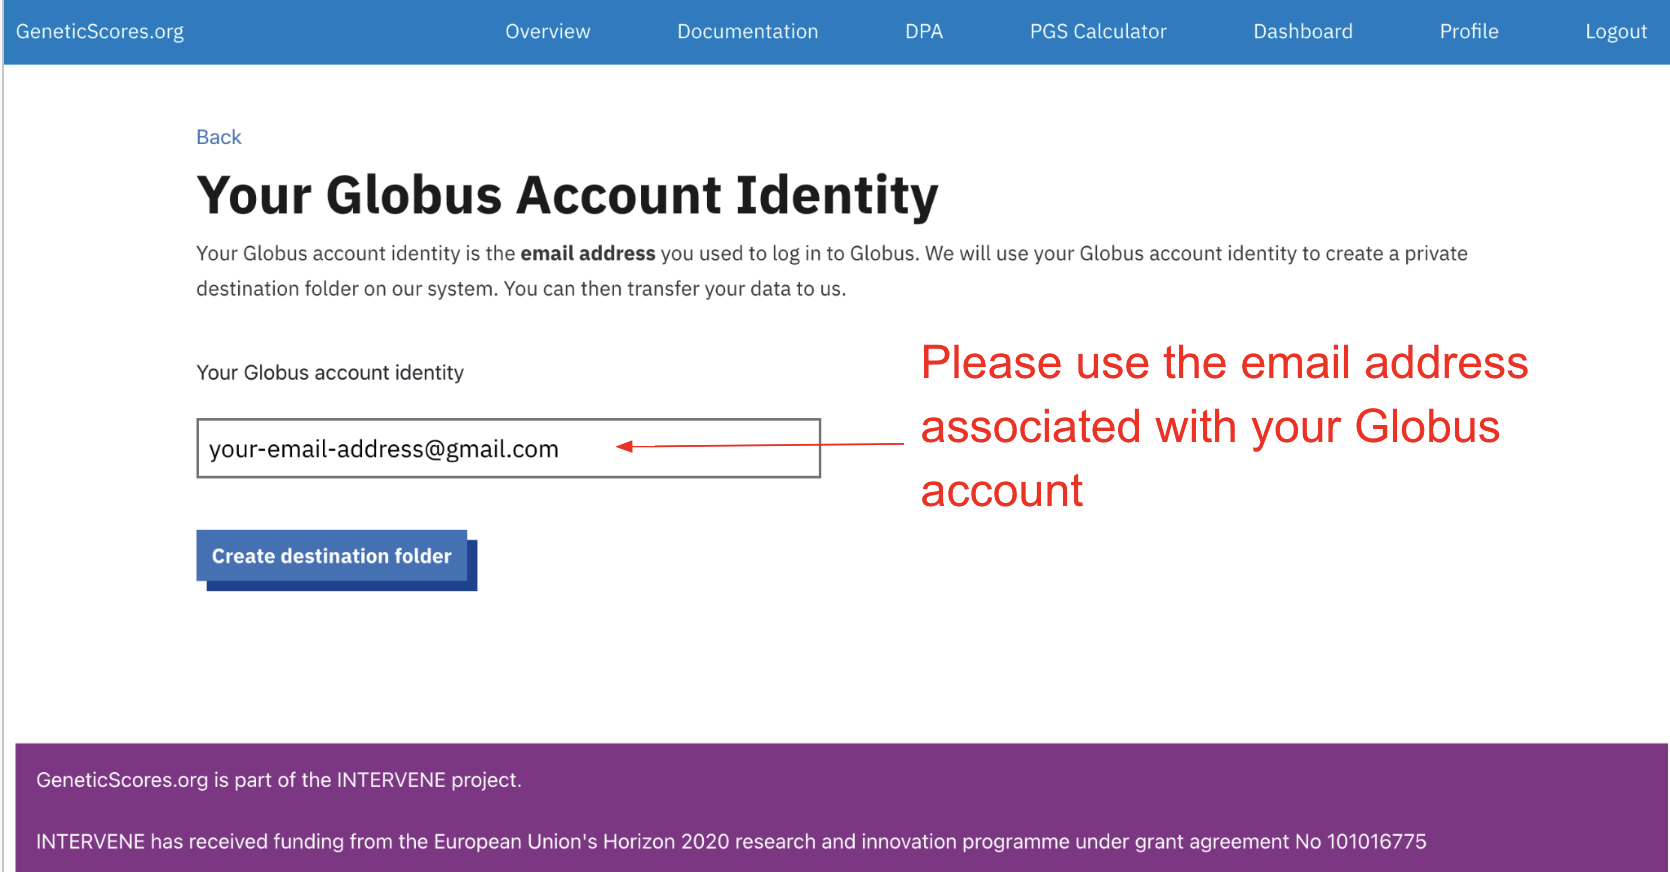
- Please take note of the owner identity (email address) that you use to log in to
Globus
- You'll need to enter this later on the platform
- In Globus terminology a collection is a named set of files, hierarchically
organized in folders, associated with a specific storage gateway.
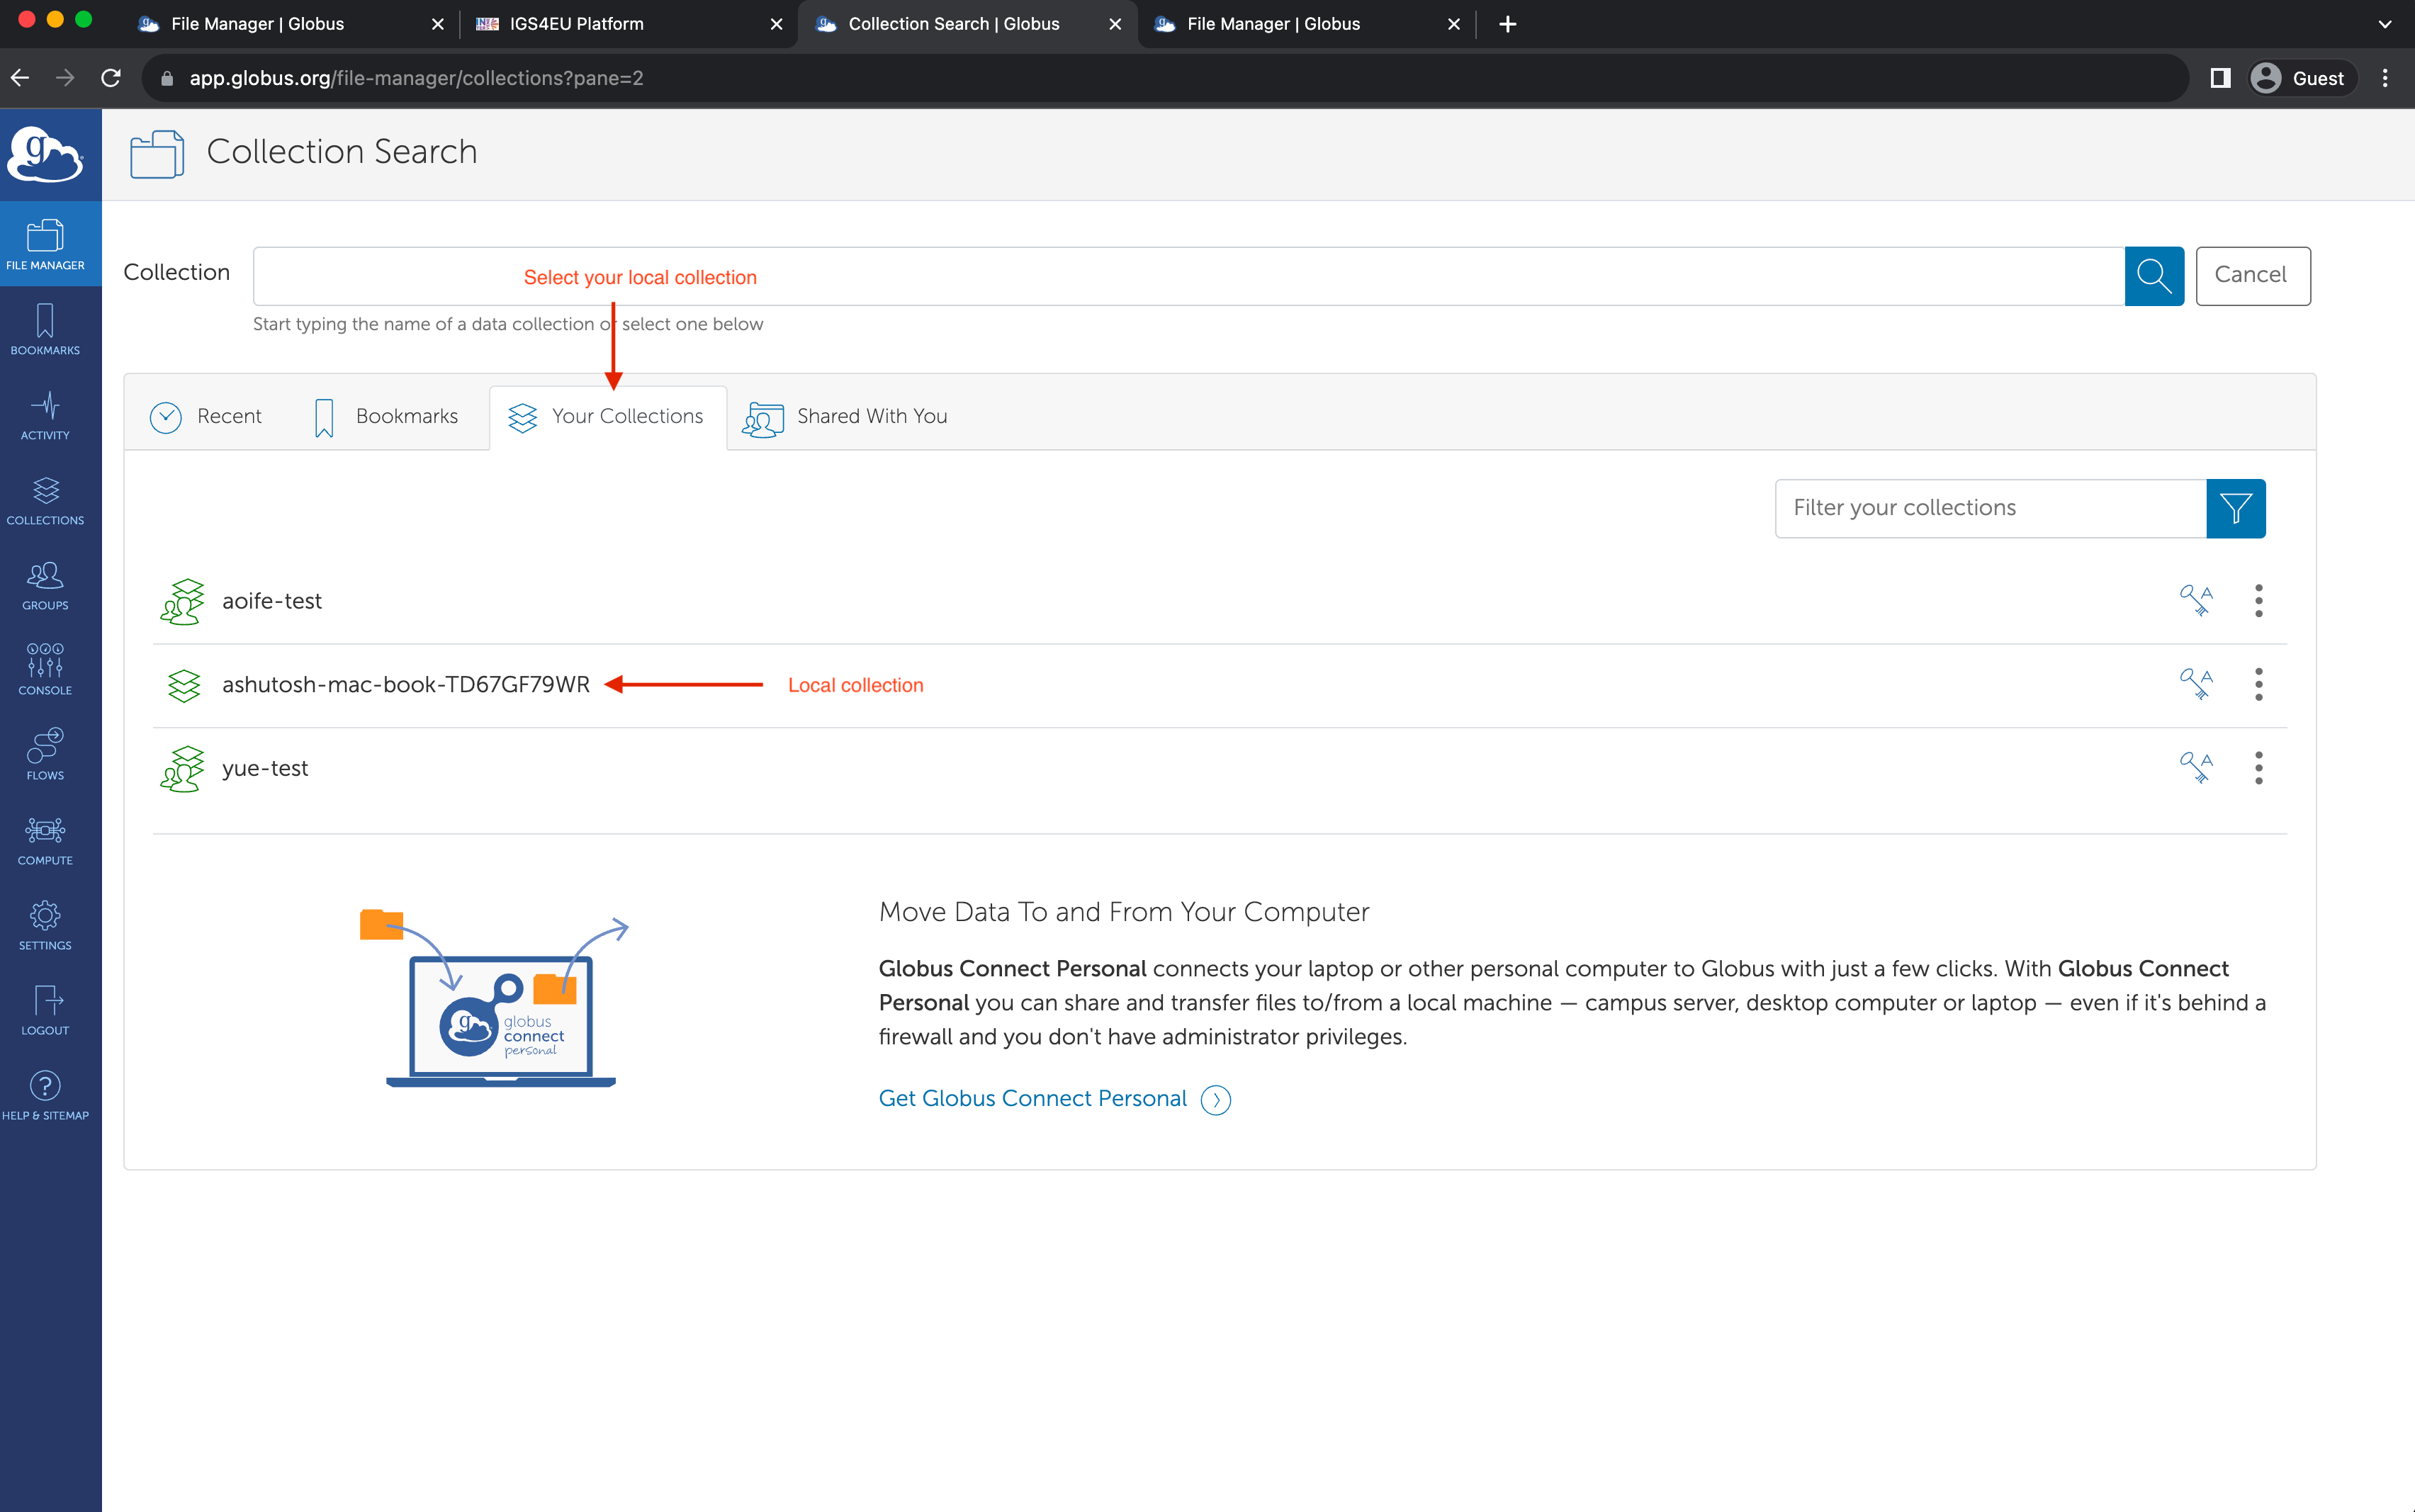
- Practically speaking this is your computer
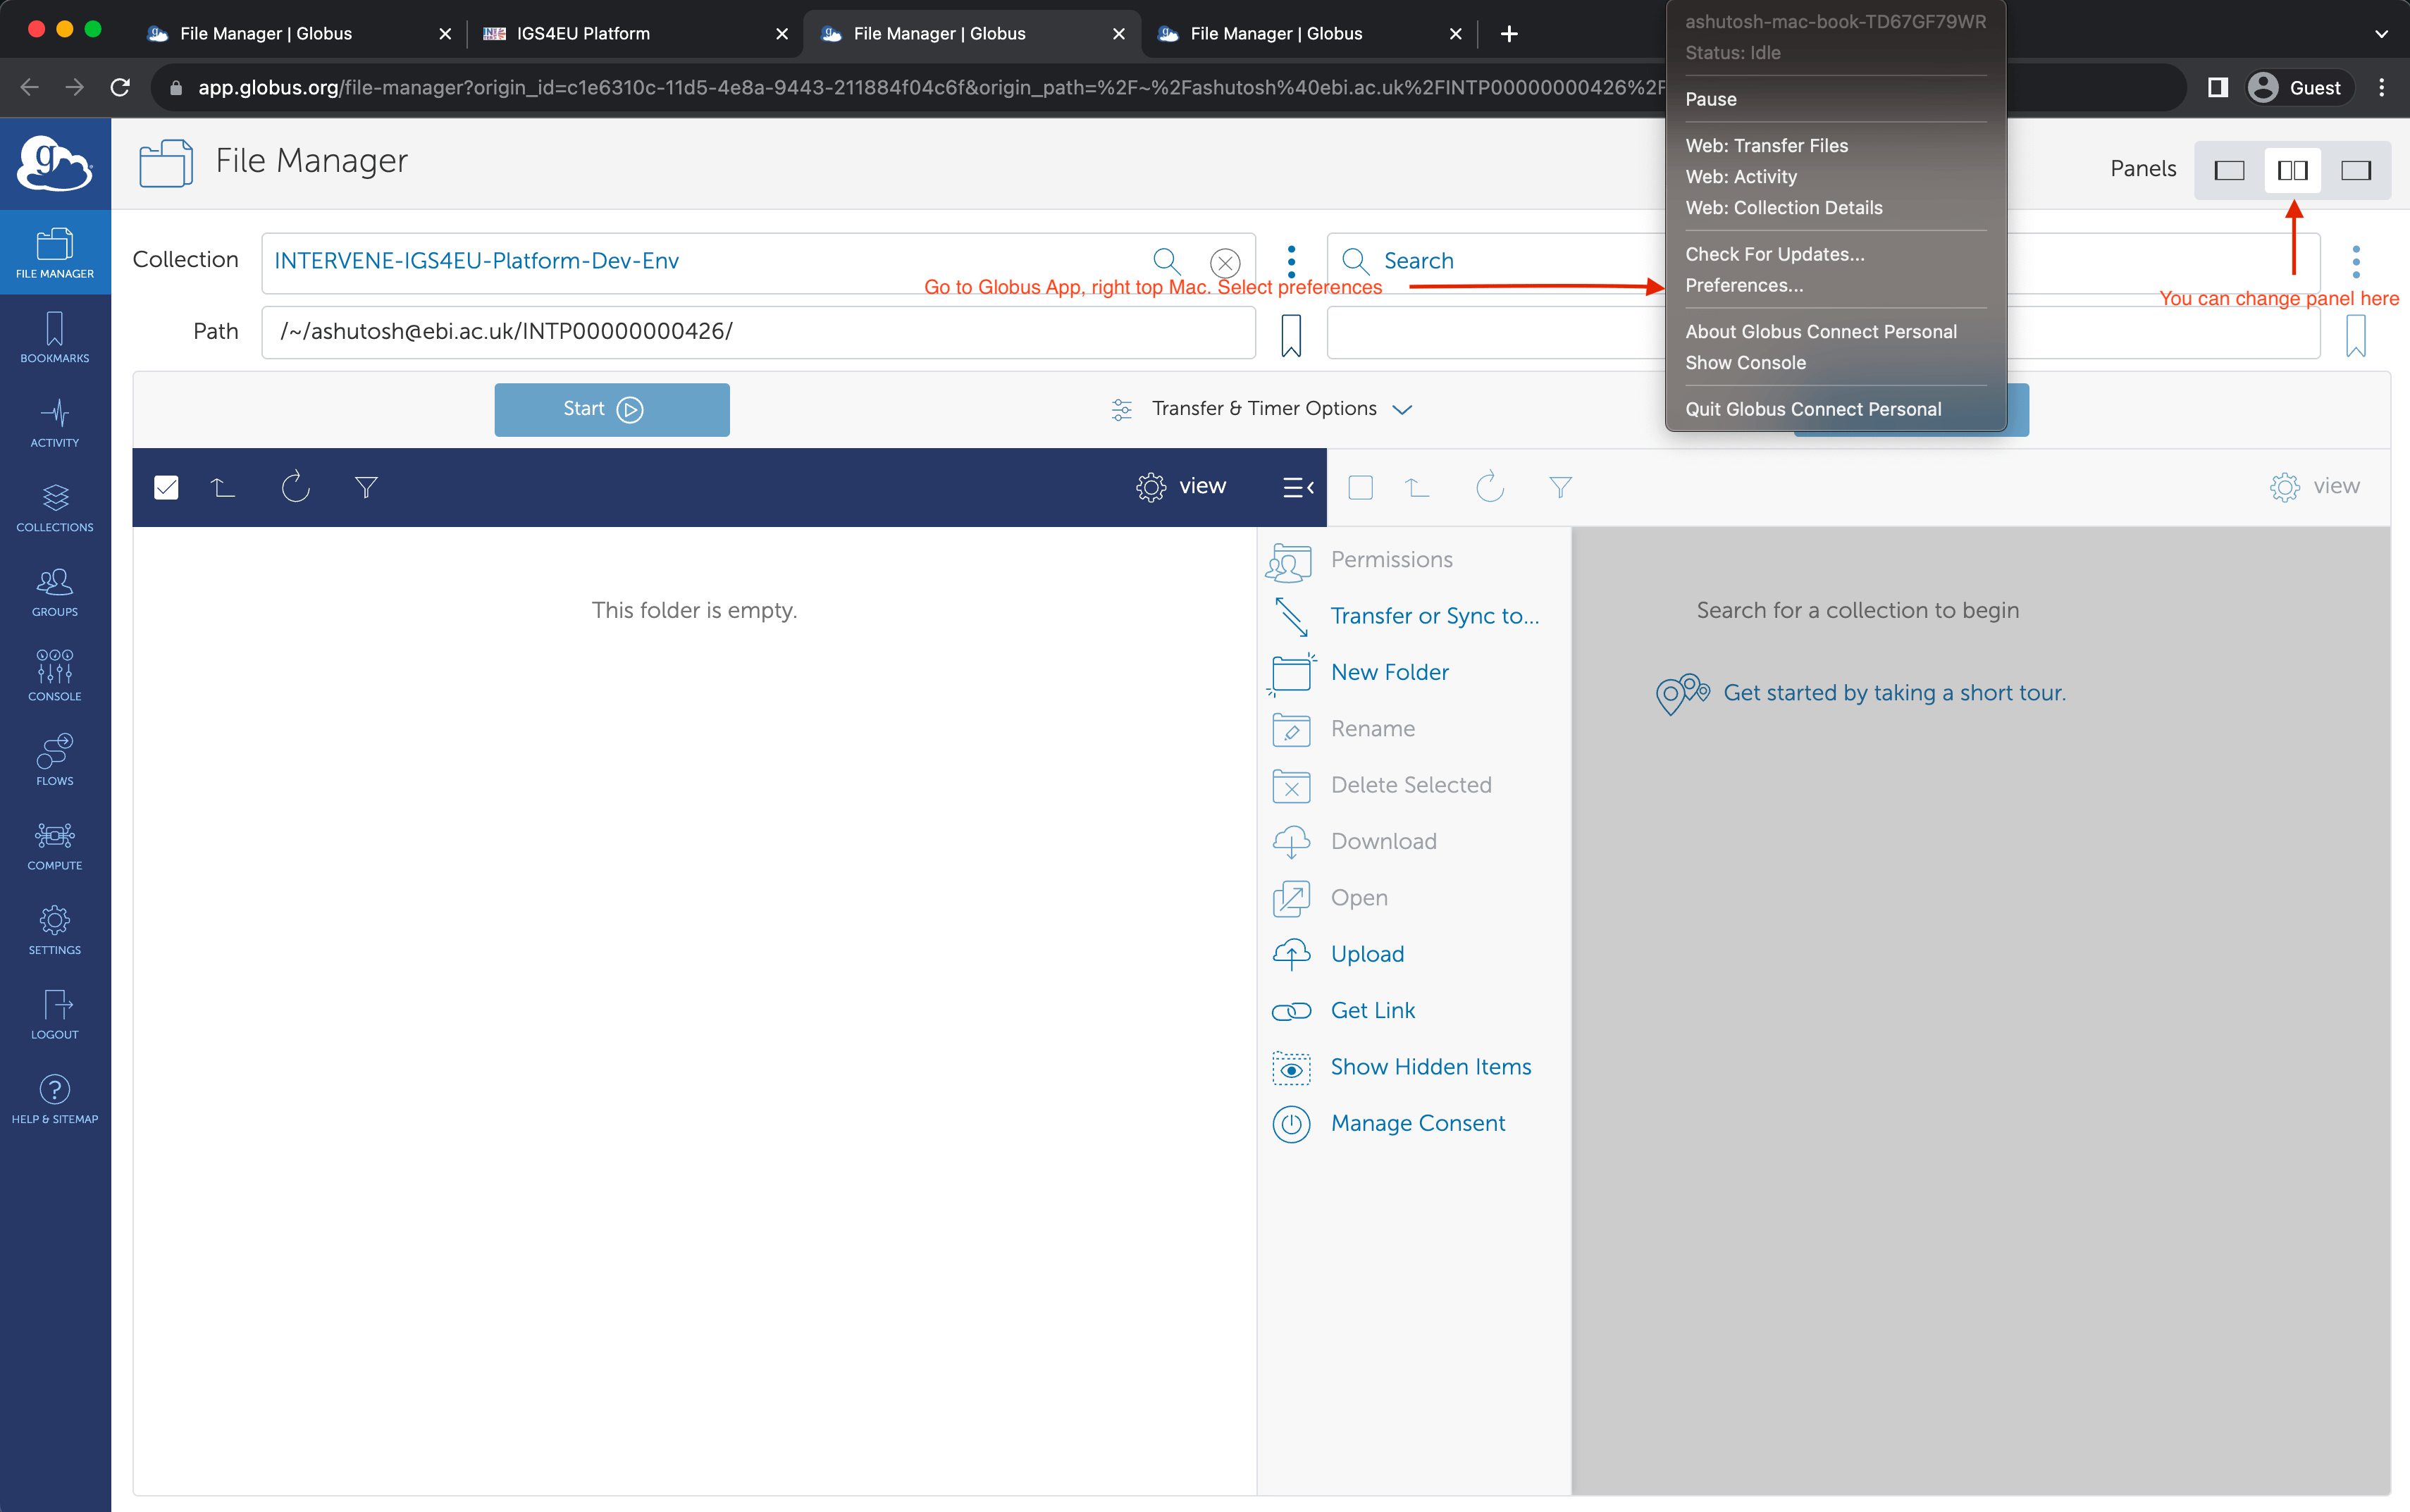
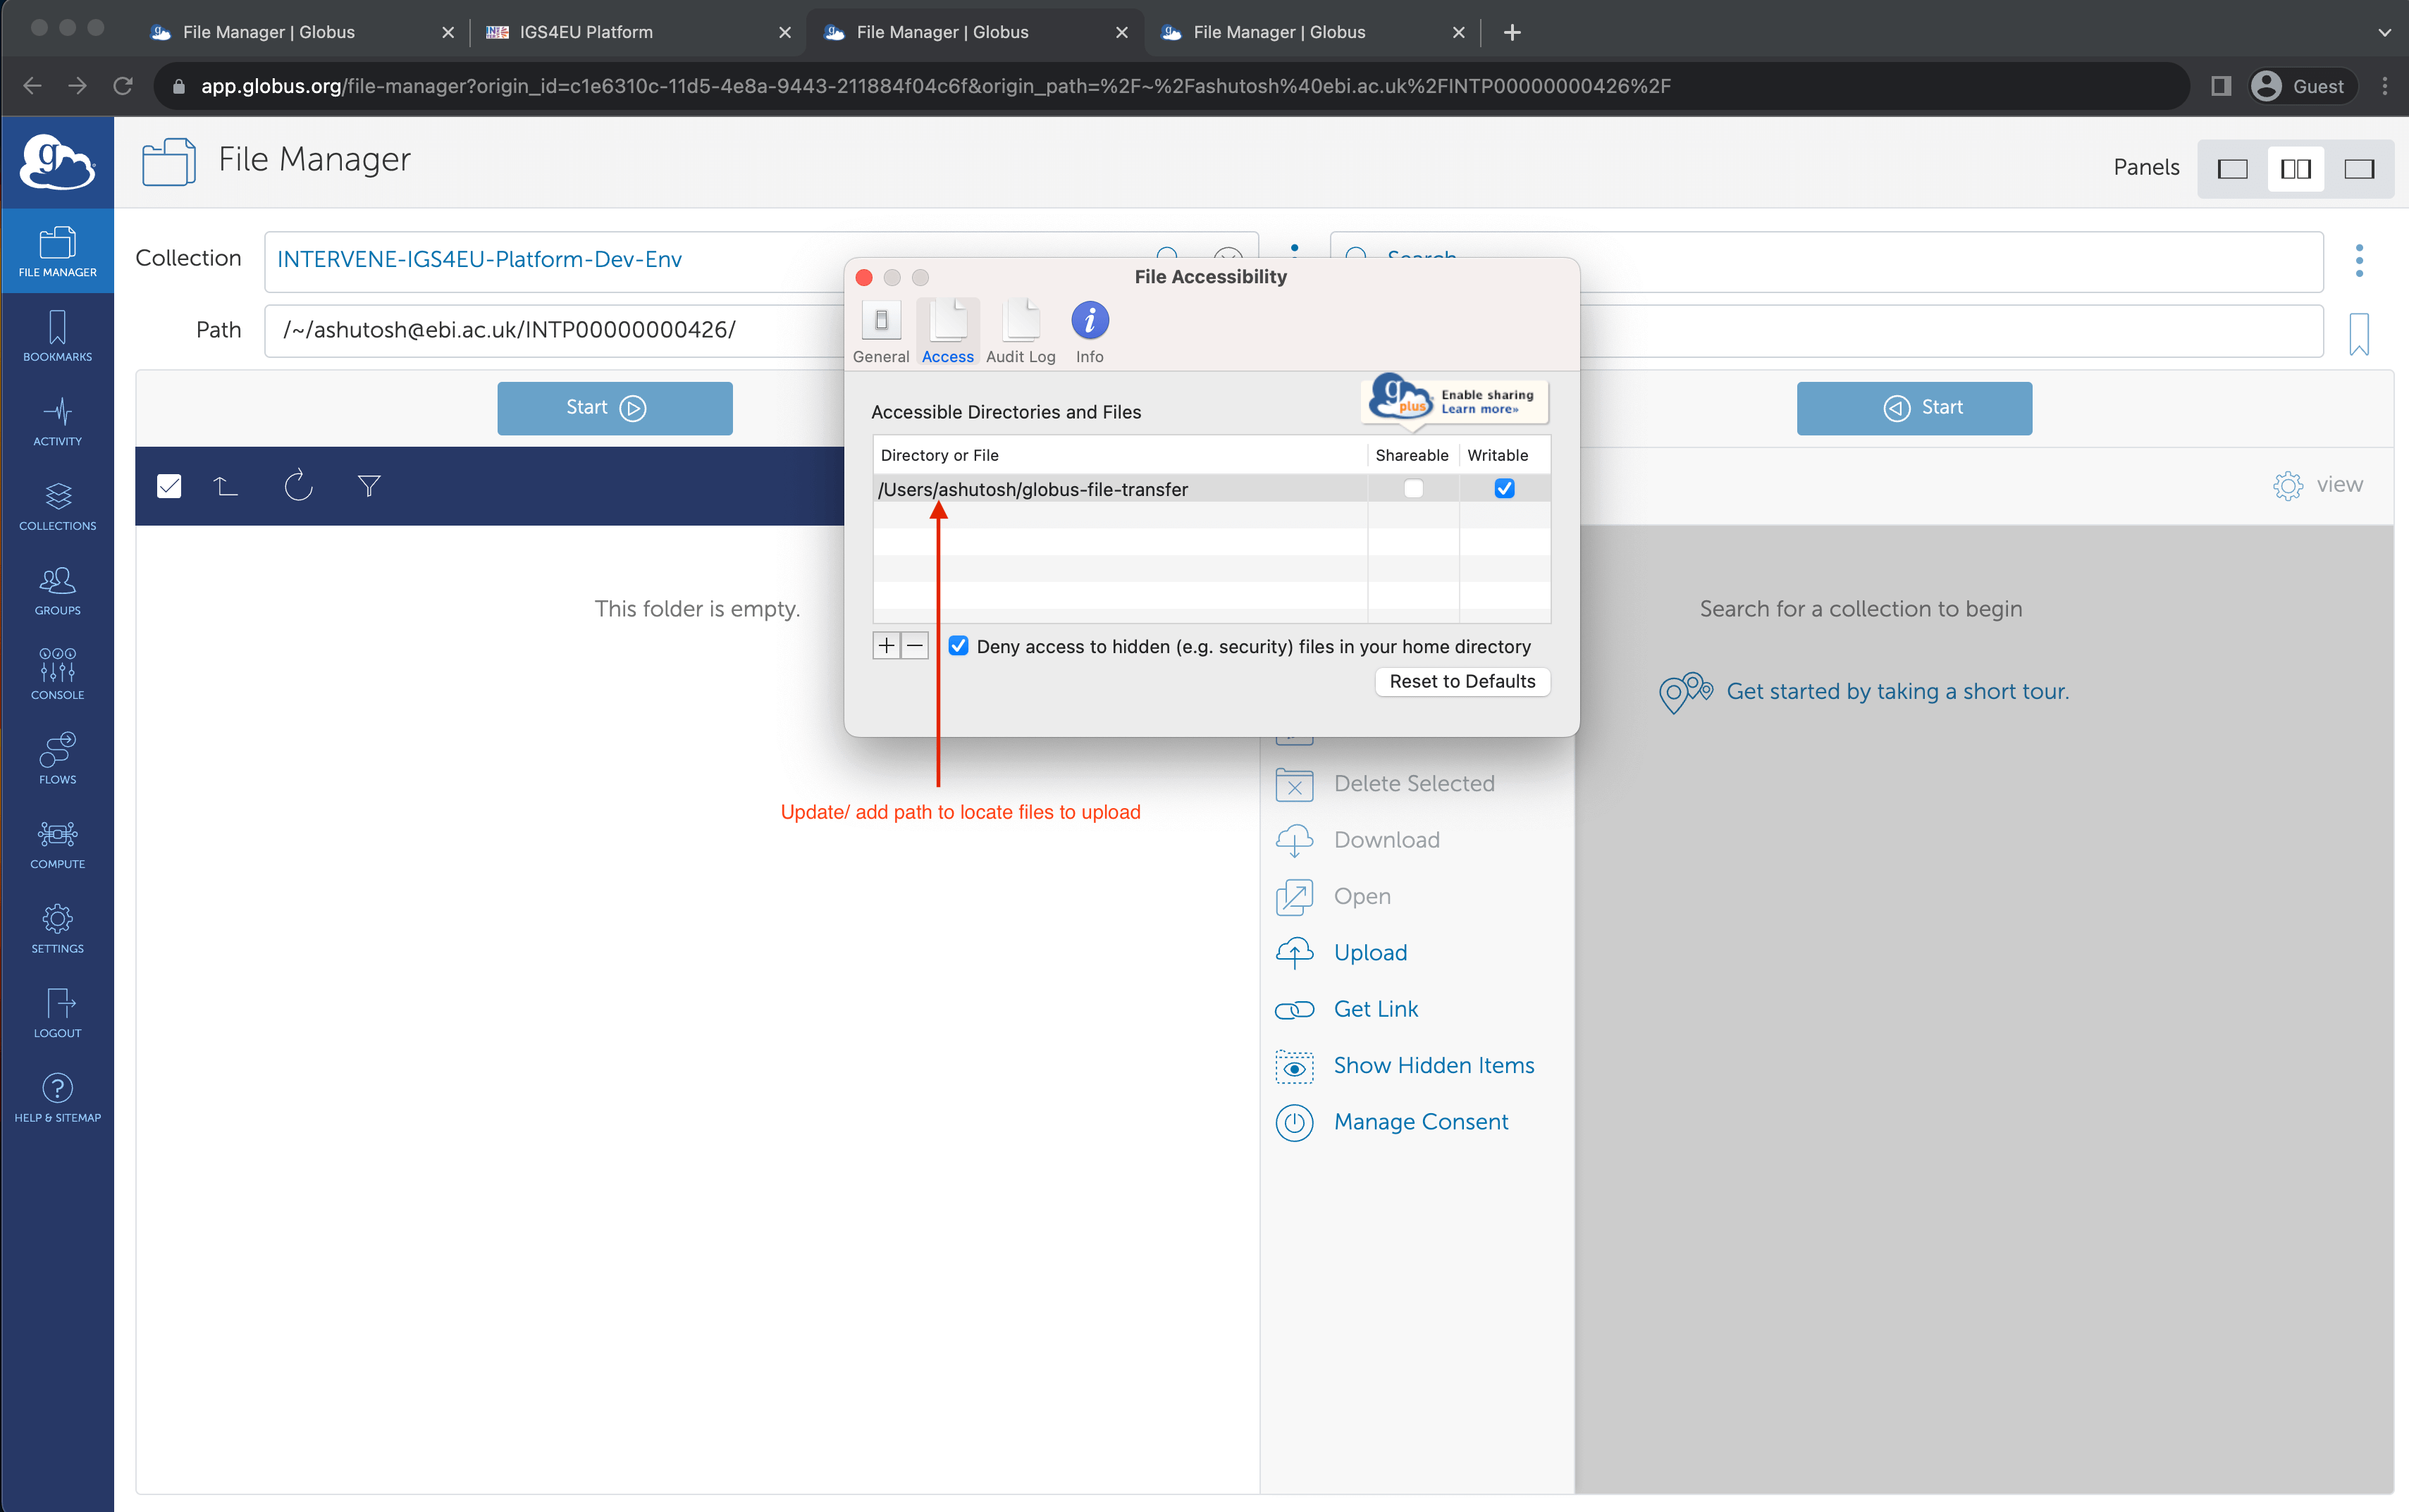
- Once Globus Personal Connect is installed, you need to configure preferences to give Globus permission to access the location where your data are (step 3) one time only
note
Step by step guide
1. Enter your Globus account identity
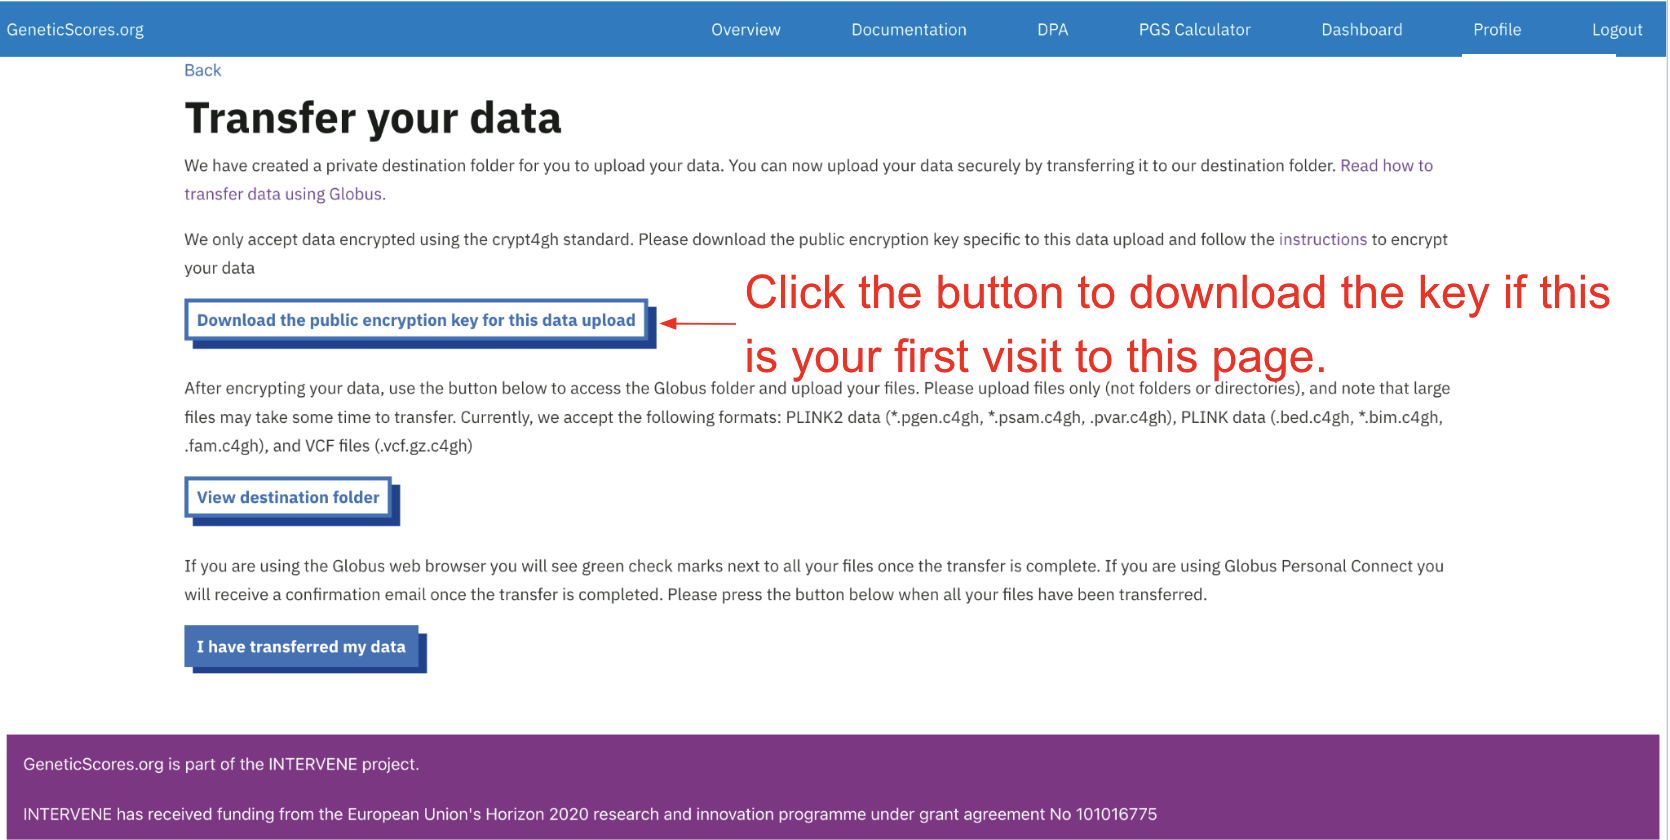
2. View destination collection
3. Grant Globus permission to access your files
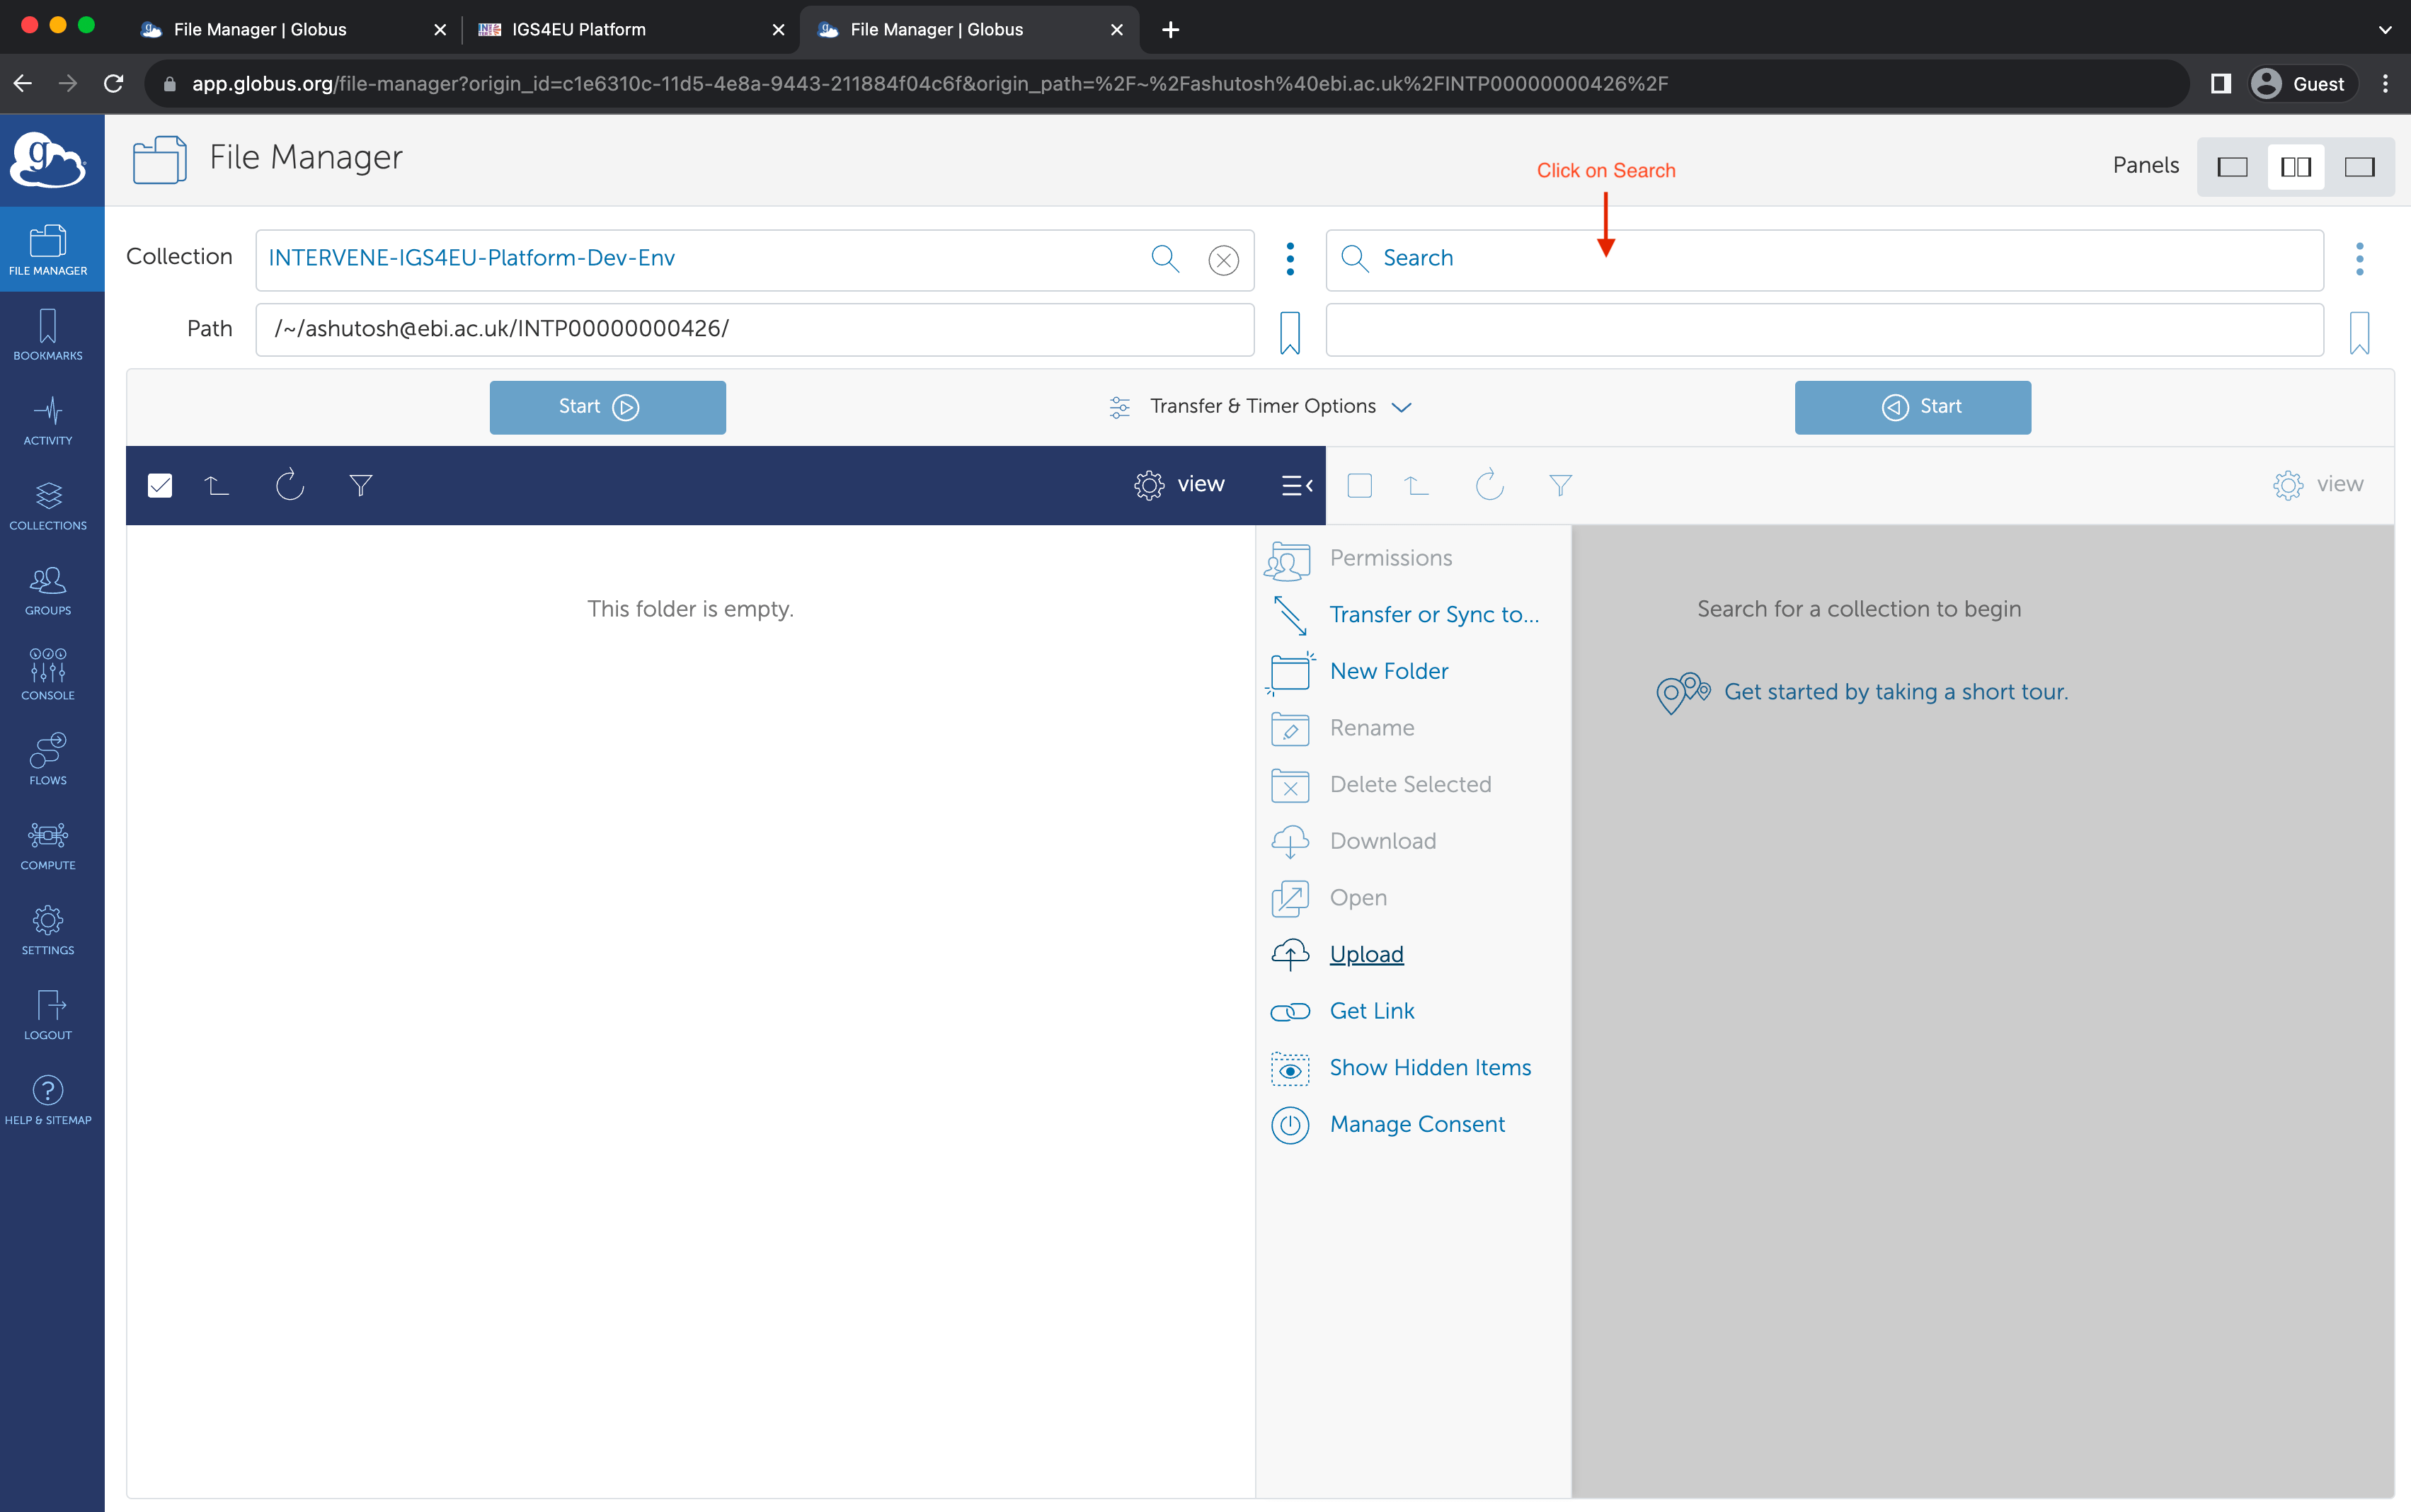
4. Find your local collection
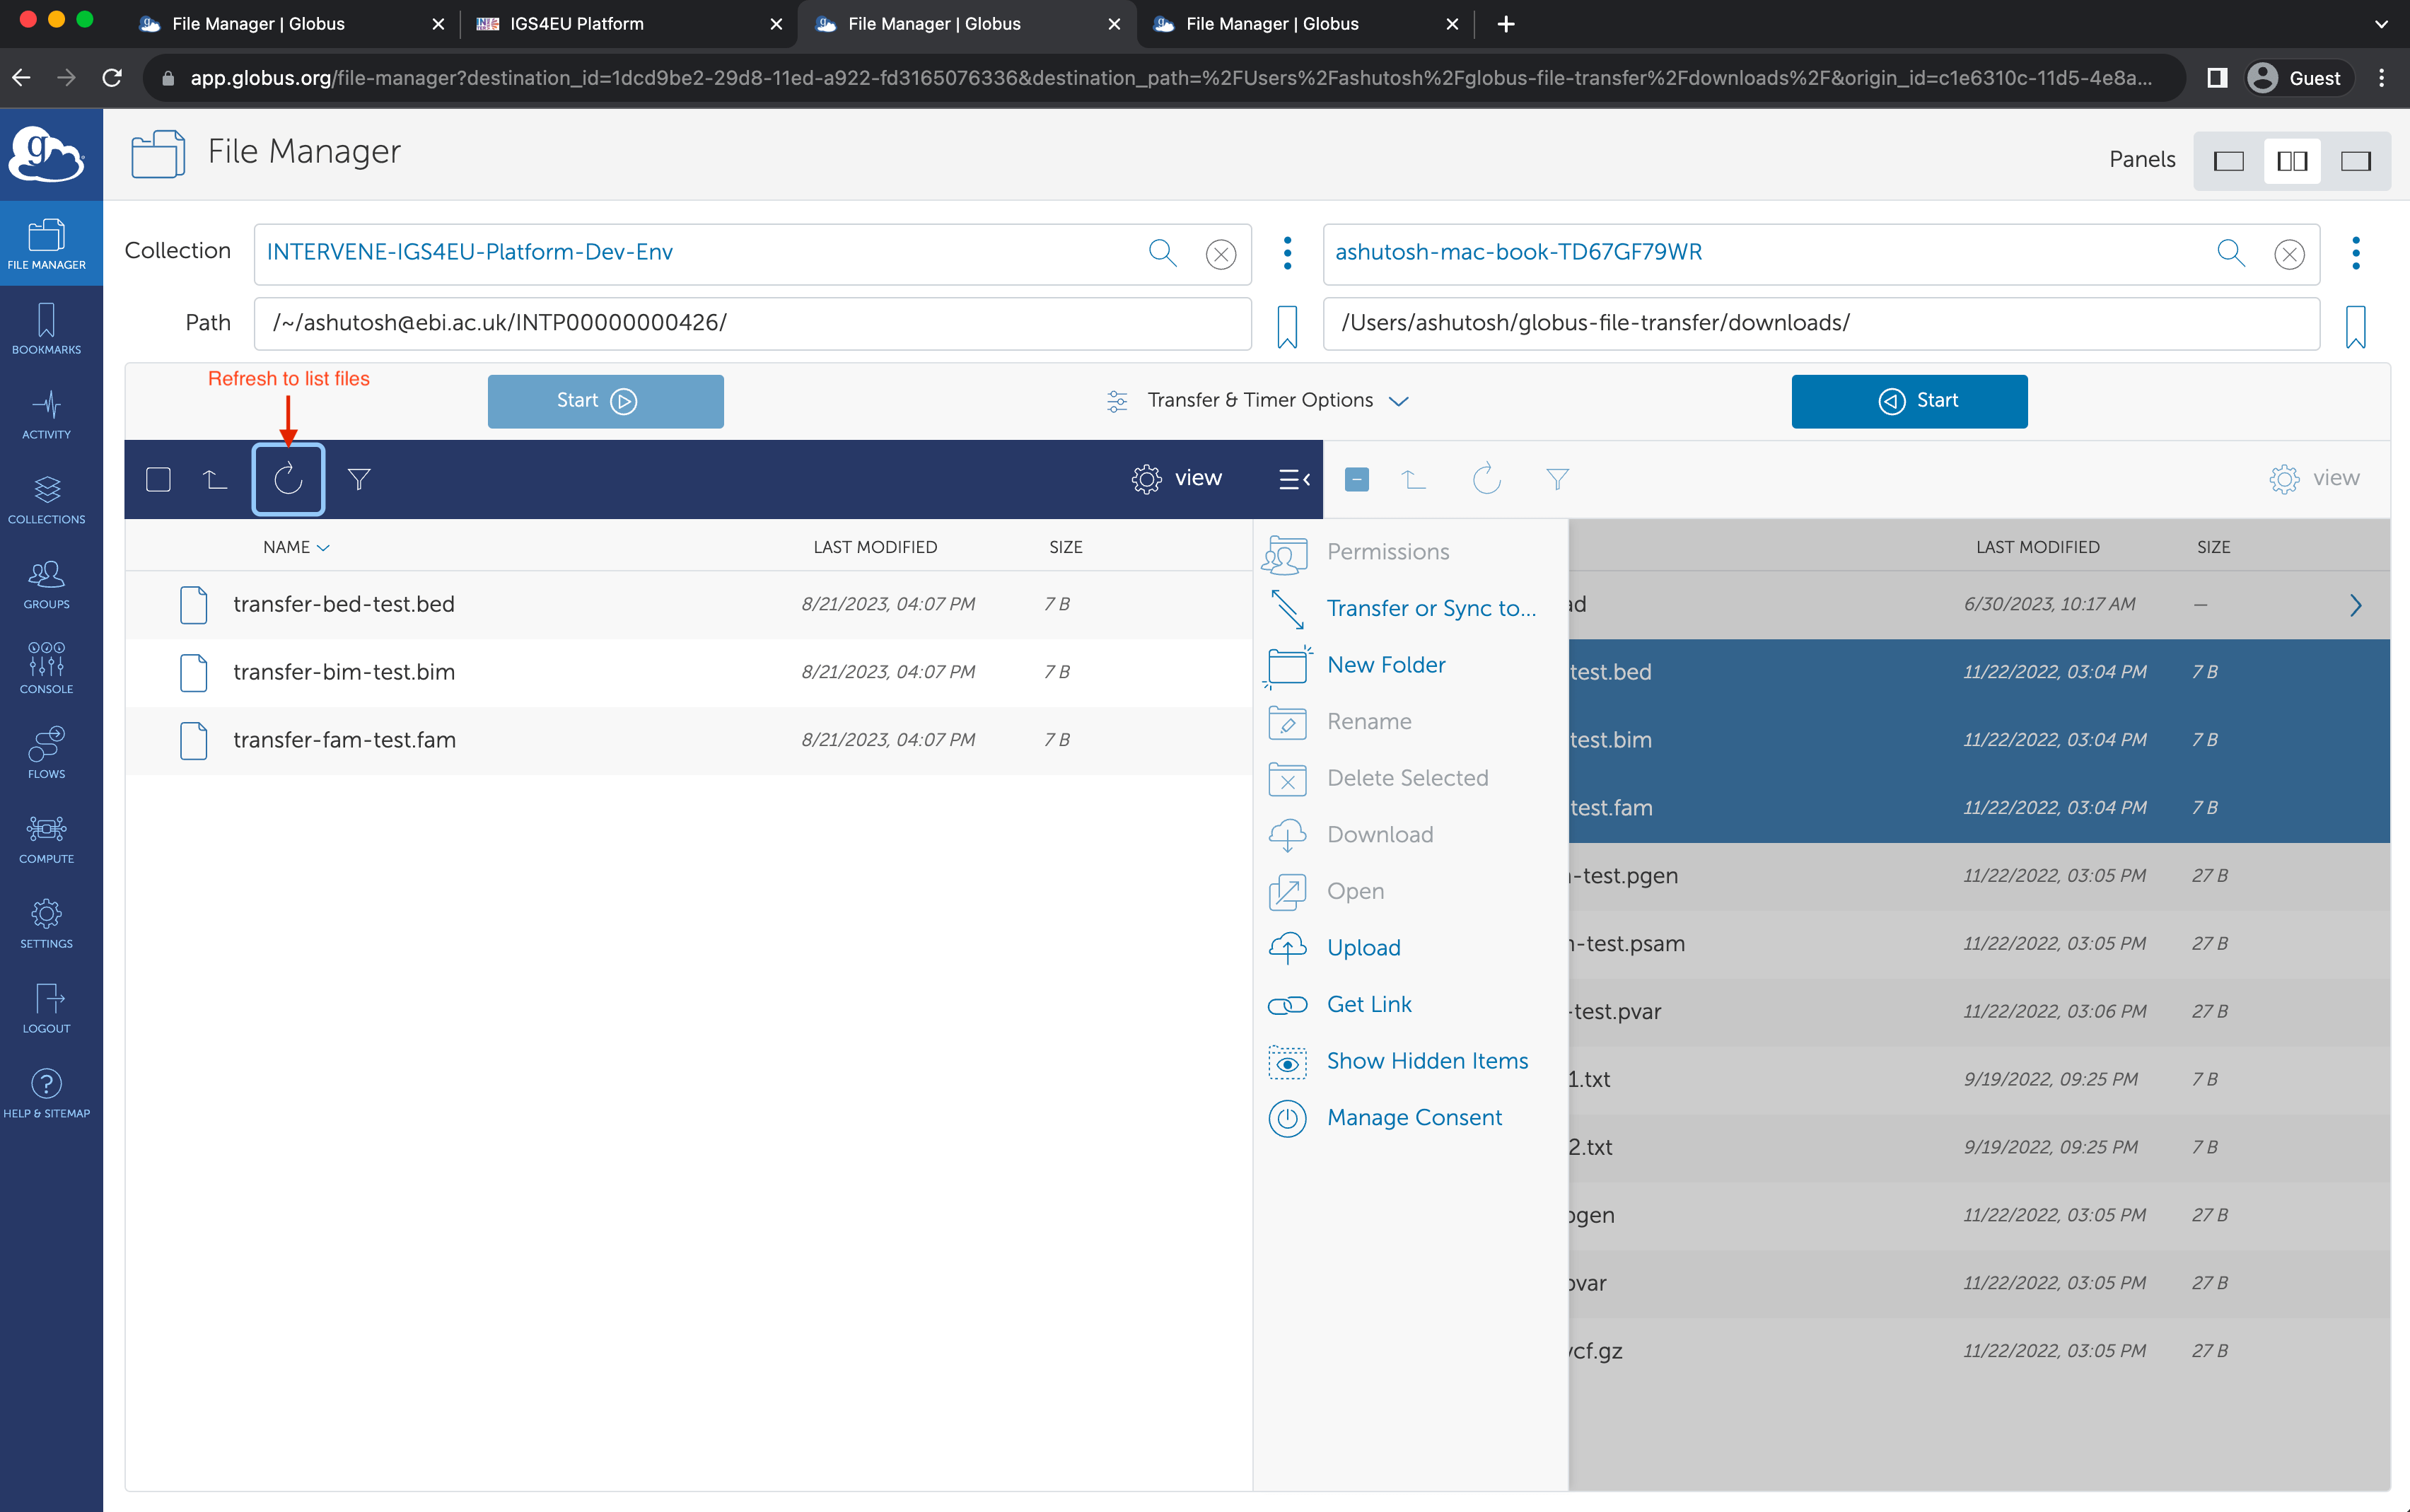
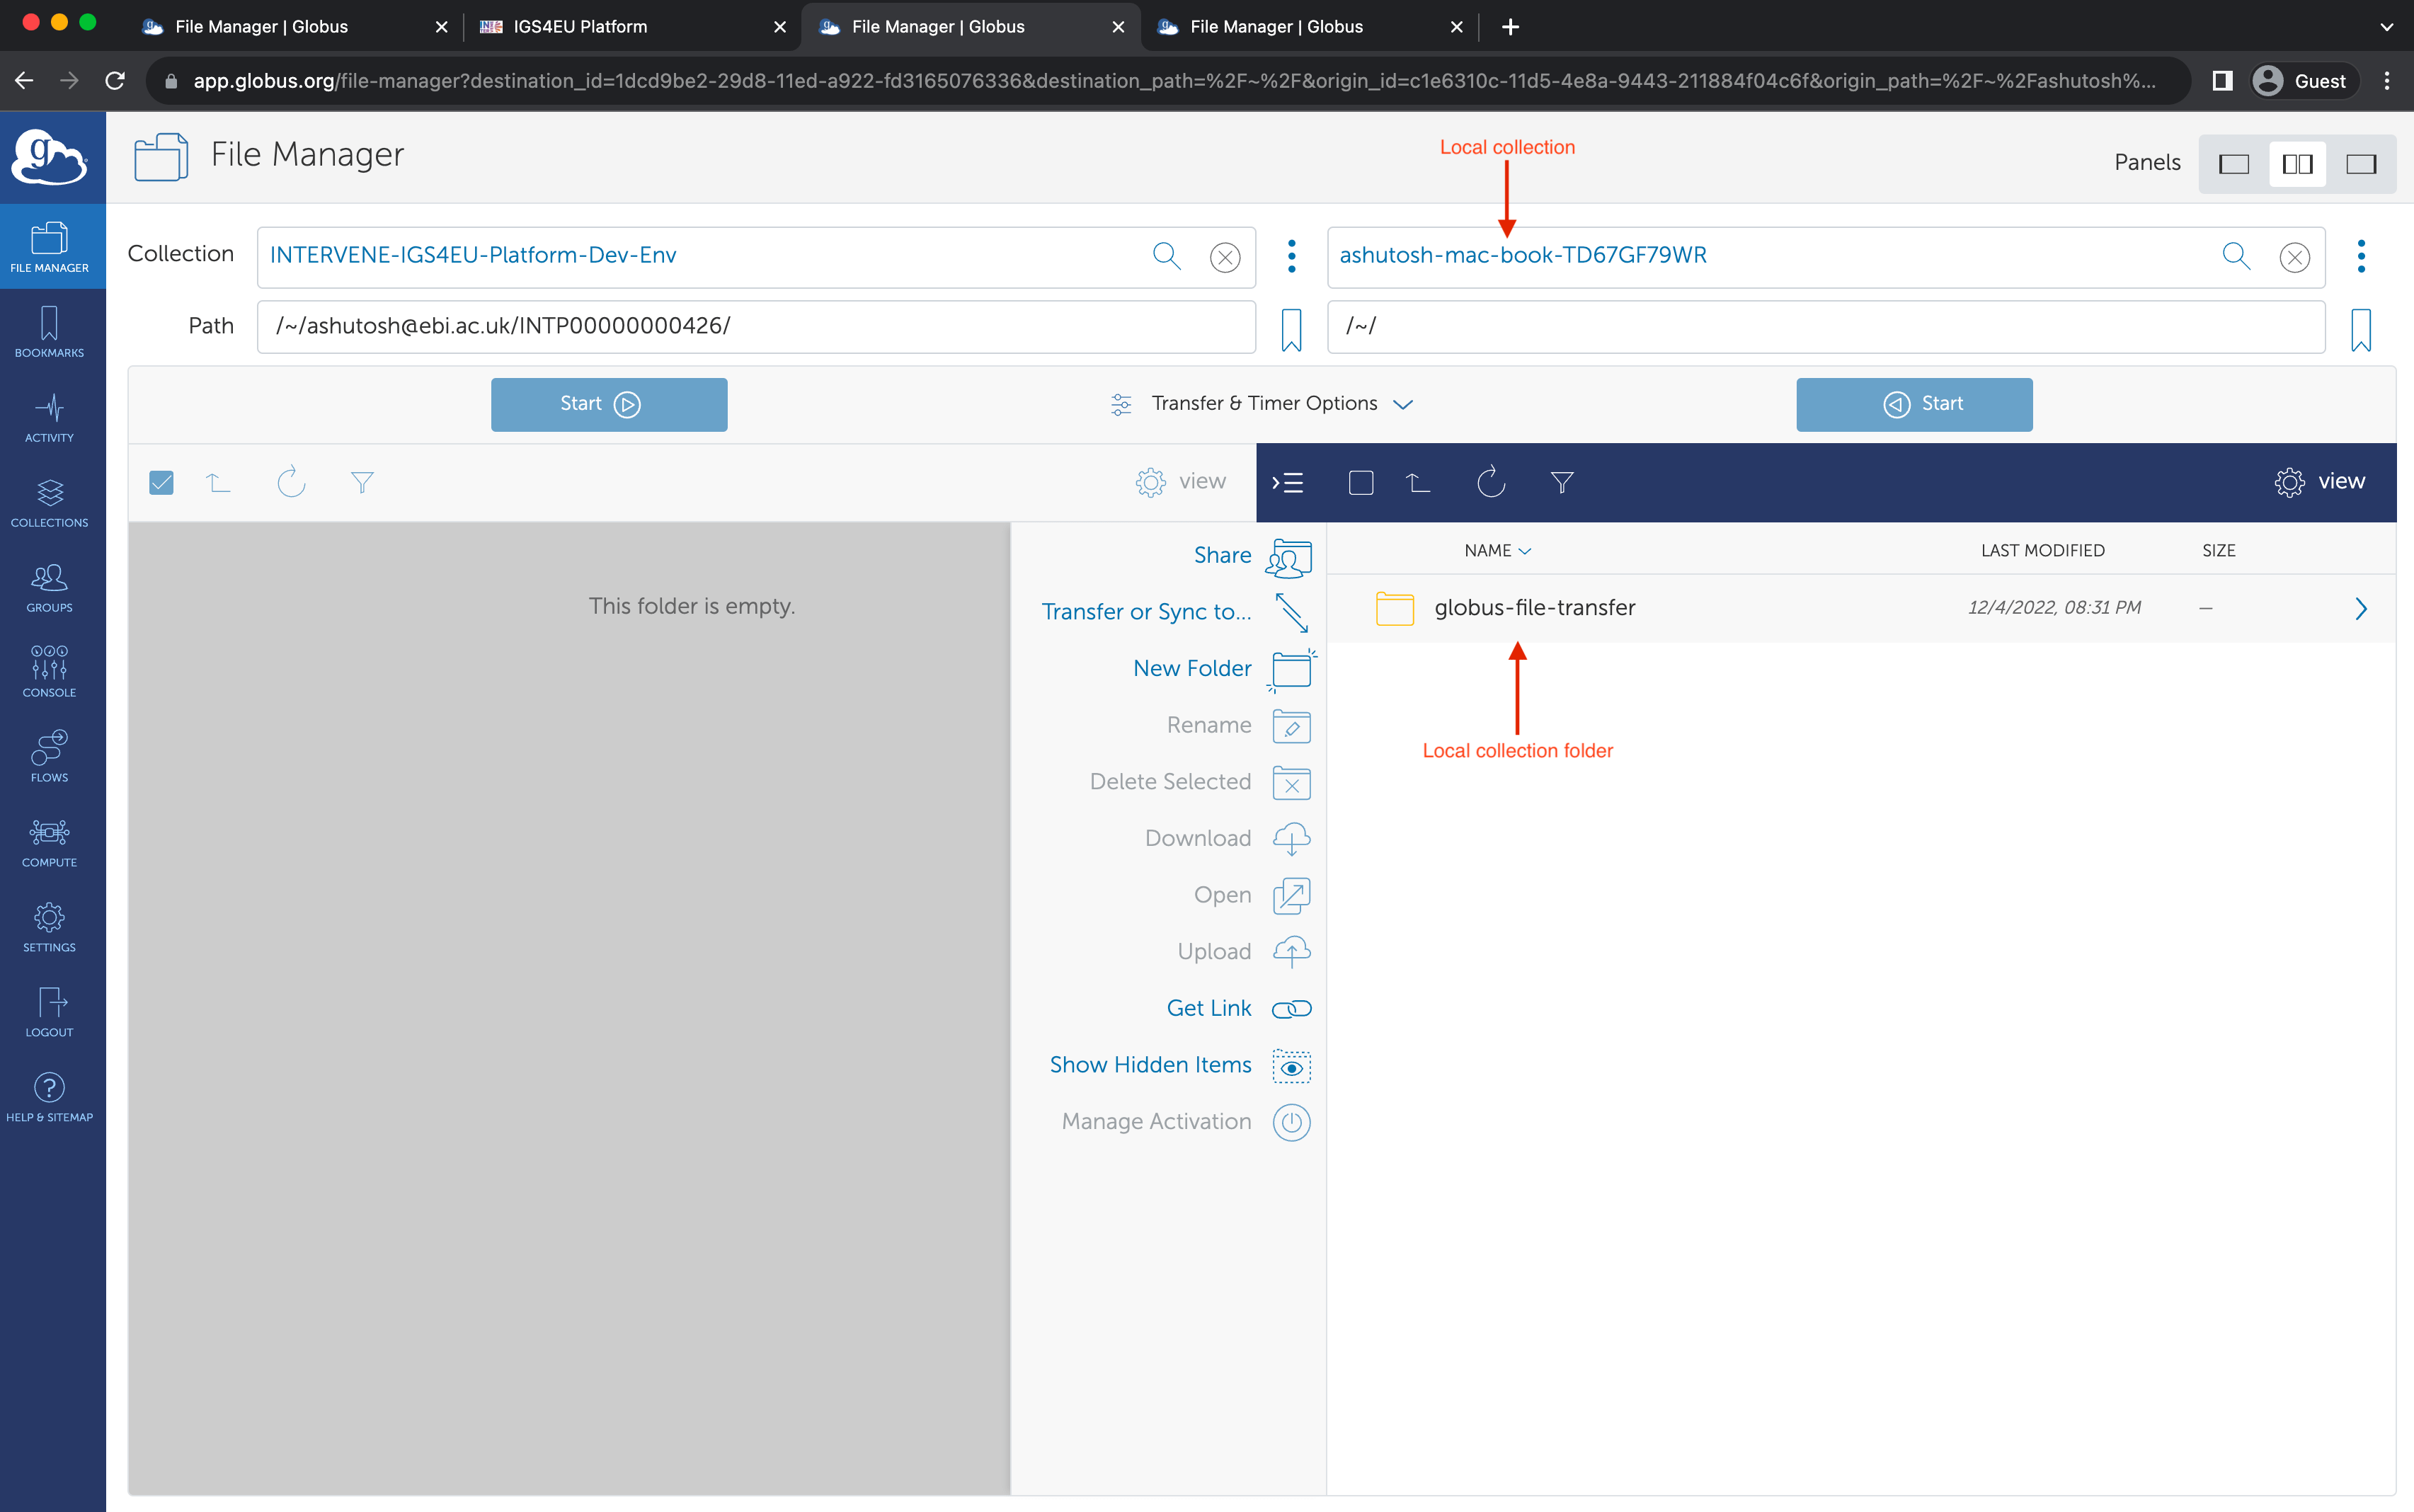
5. Find the folder containing your data
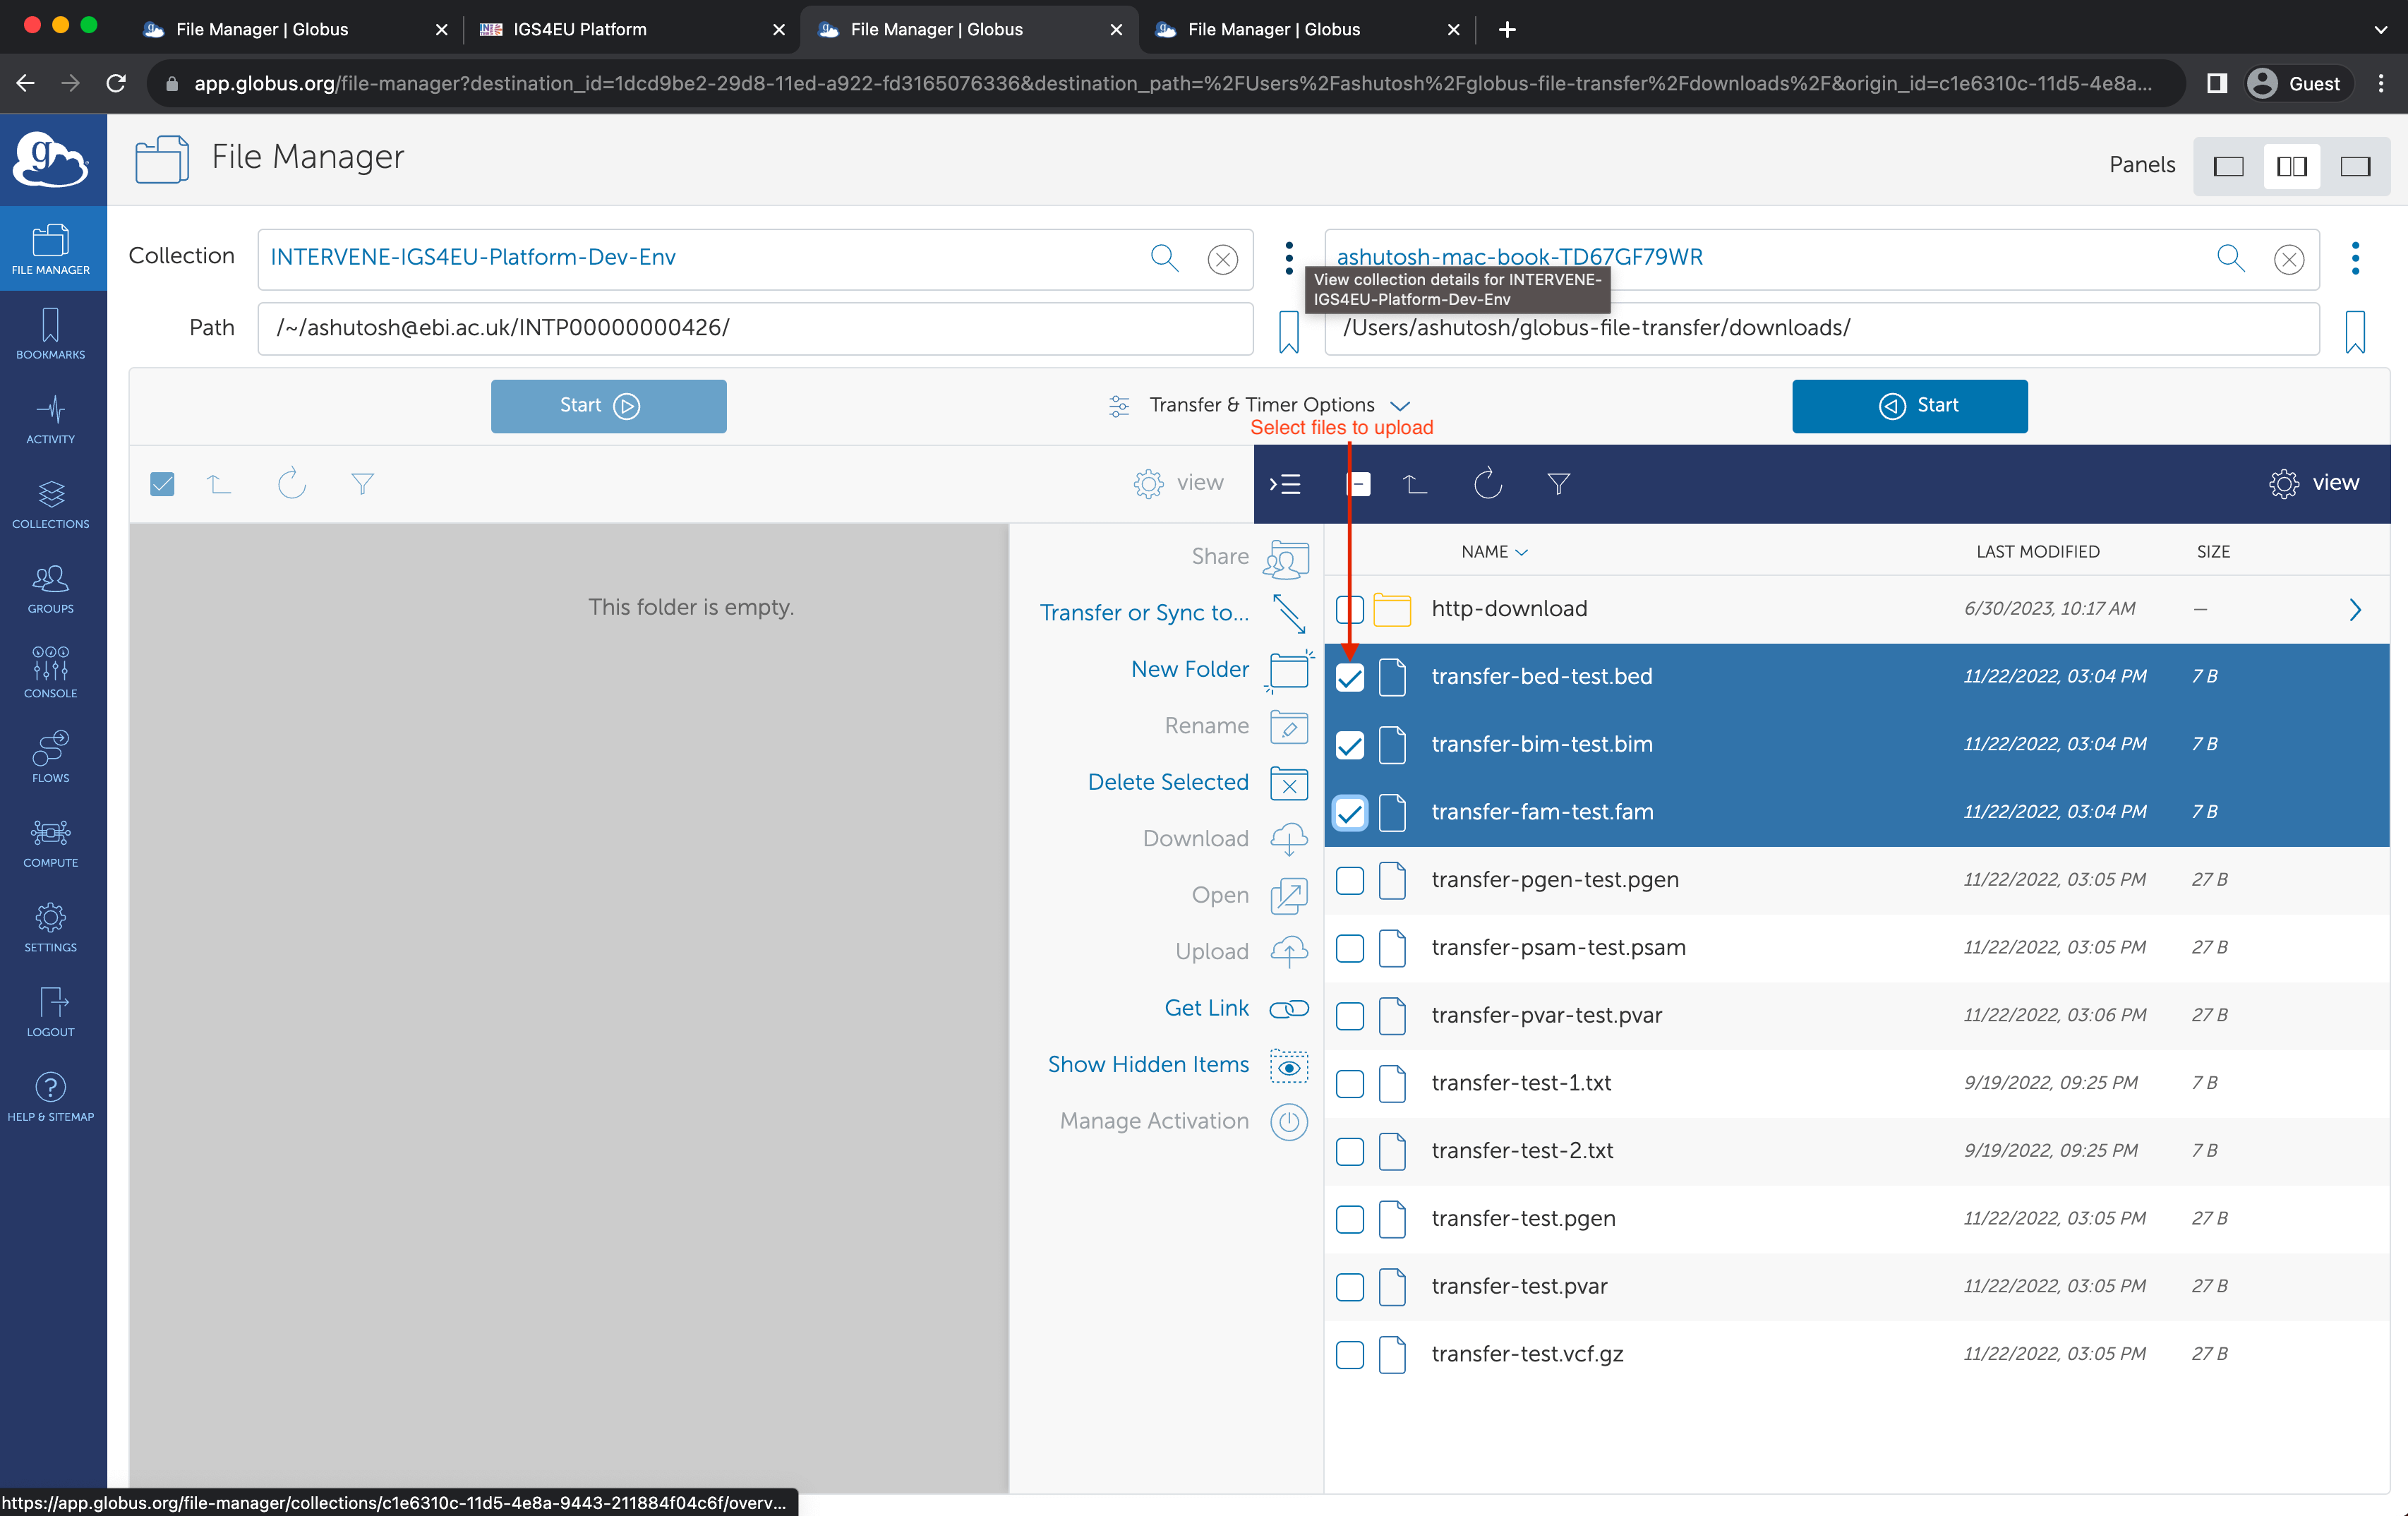
6. Select files to upload
7. Start data transfer
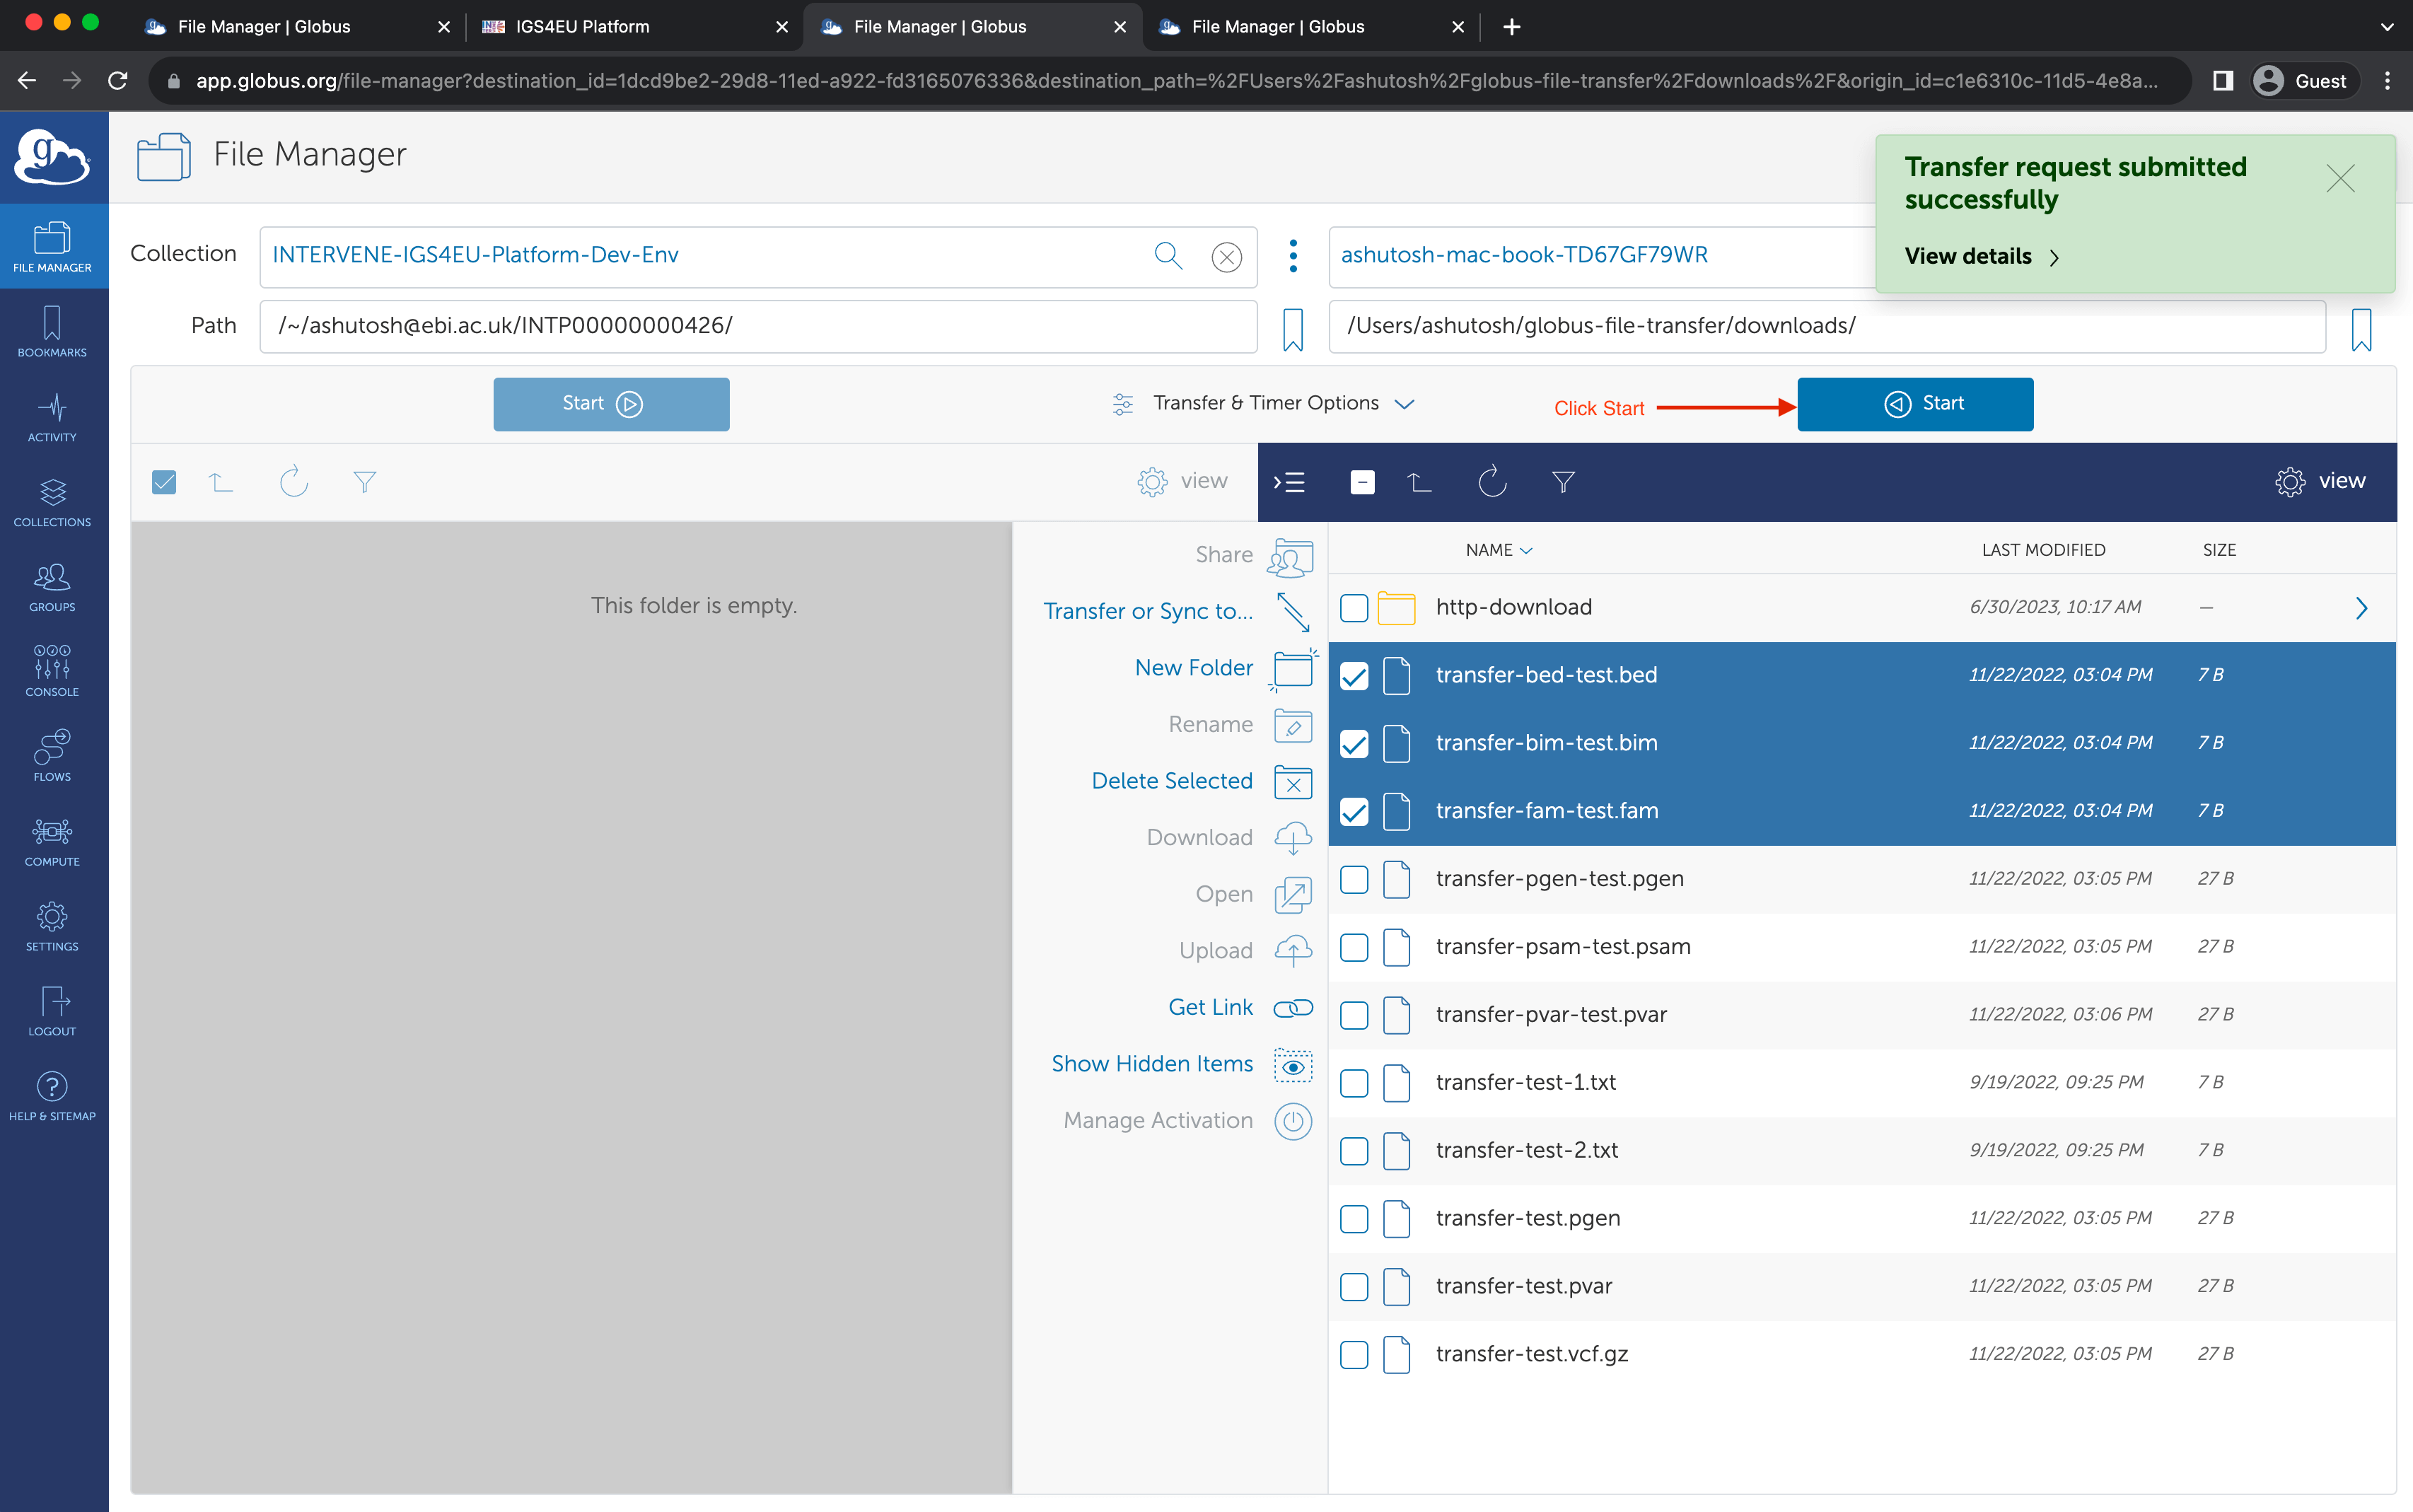
8. Check if your files have uploaded
